Usage Guide
This guide covers installation of the headless server and the use of the web based control panel.
Installing and running the motion controller
The control panel alone does not run a Stringman robot. A program called the motion controller runs it. The motion controller must be run on a PC on the same network as the robot components. If the motion controller is not running, the anchors simply hold position and transmit nothing.
The brain of the robot is stringman-headless which is installed with pip. The components themselves are just light video streaming devices and motor command issuers. In other worfds, Stringman Pilot's compute is external.
The motion controller is a headless process, and the user interface is browser based and accessed at neufangled.com/control_panel whether in lan mode or cloud mode.
Installation
sudo apt install python3-dev python3-virtualenv python3-pip ffmpeg
python3 -m virtualenv venv
source venv/bin/activate
pip install "nf_robot[host]"
Installing Python via the Microsoft store is probably the easiest way to integrate it into your system without conflicting installations.
Type "Microsft Store" in the start menu.
Search for python
Install python 3.13
Open Powershell
cd ~
python3.13.exe -m pip install "nf_robot[host]"
brew install ffmpeg python@3.13
python3.13 -m venv venv
source venv/bin/activate
pip install "nf_robot[host]"
Run Stringman
Run stringman's motion controller from the virtualenv you set up during install
venv/bin/stringman-headless
python3.13.exe -m nf_robot.host.observer
venv/bin/stringman-headless
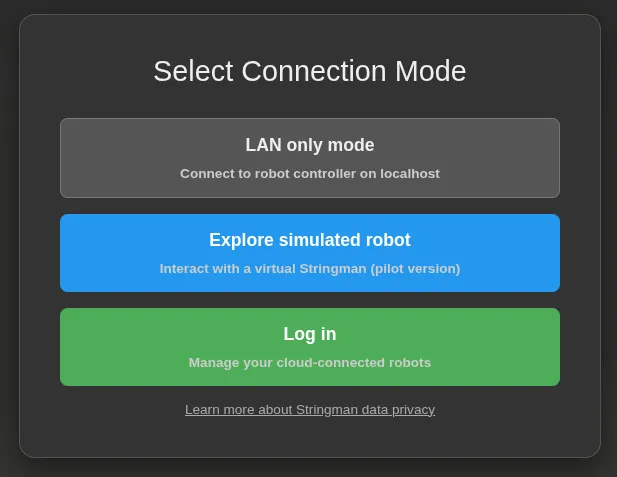
With no args, it runs in LAN mode, meaning it will listen for a UI connection on port 4245. Open the Control Panel and select LAN mode to connect to the stringman-headless process your local machine.
If no configuration file is specified with --config=<filename.json> one will be created at configuration.json this will be where your specific robot's calibration parameters are stored and where your randomly generated robot id will be stored. if it is deleted, the id will change.
For machines with no NPU or GPU capable of AI acceleration, run with --no_ai. This will cut down the resource usage enough that you can still drive manually but you will be unable to use autonomous behaviors.
Connecting
Whether starting the motion controller first, or powering on the robot components first, the motion controller should discover and connect to every component automatically.
After making the initial connection to a component, the motion controller will attempt to connect to the video stream as well. The status of all component connections is indicated in the bottom left. It is possible that a component may be connected, but it's video connection is only established a few seconds later. This is normal.
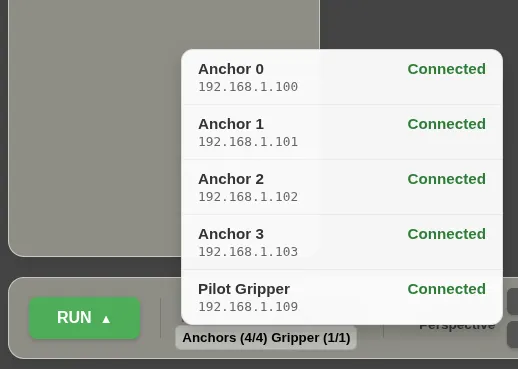
If some components don't connect, please refer to the Troubleshooting page. Or ask for help on our Discord.
First movment
The first thing you need to do after hanging up stringman and connecting to it, is raise it off the floor.
First tension all lines. In the RUN menu, select Tension all lines or press 1
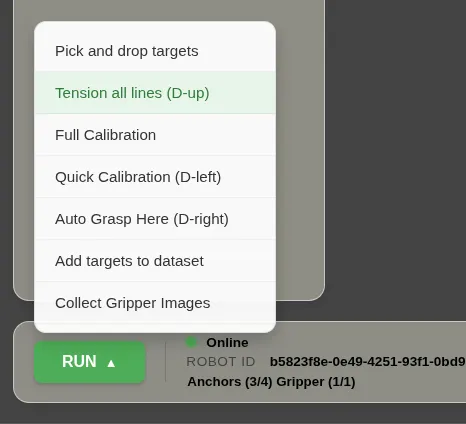
Then briefly tap the E key to move upwards. Briefly hold it enough to raise the gripper to a unobtrusive height.
Any complex motion beyond this requires calibration, which is the next step.
Calibration
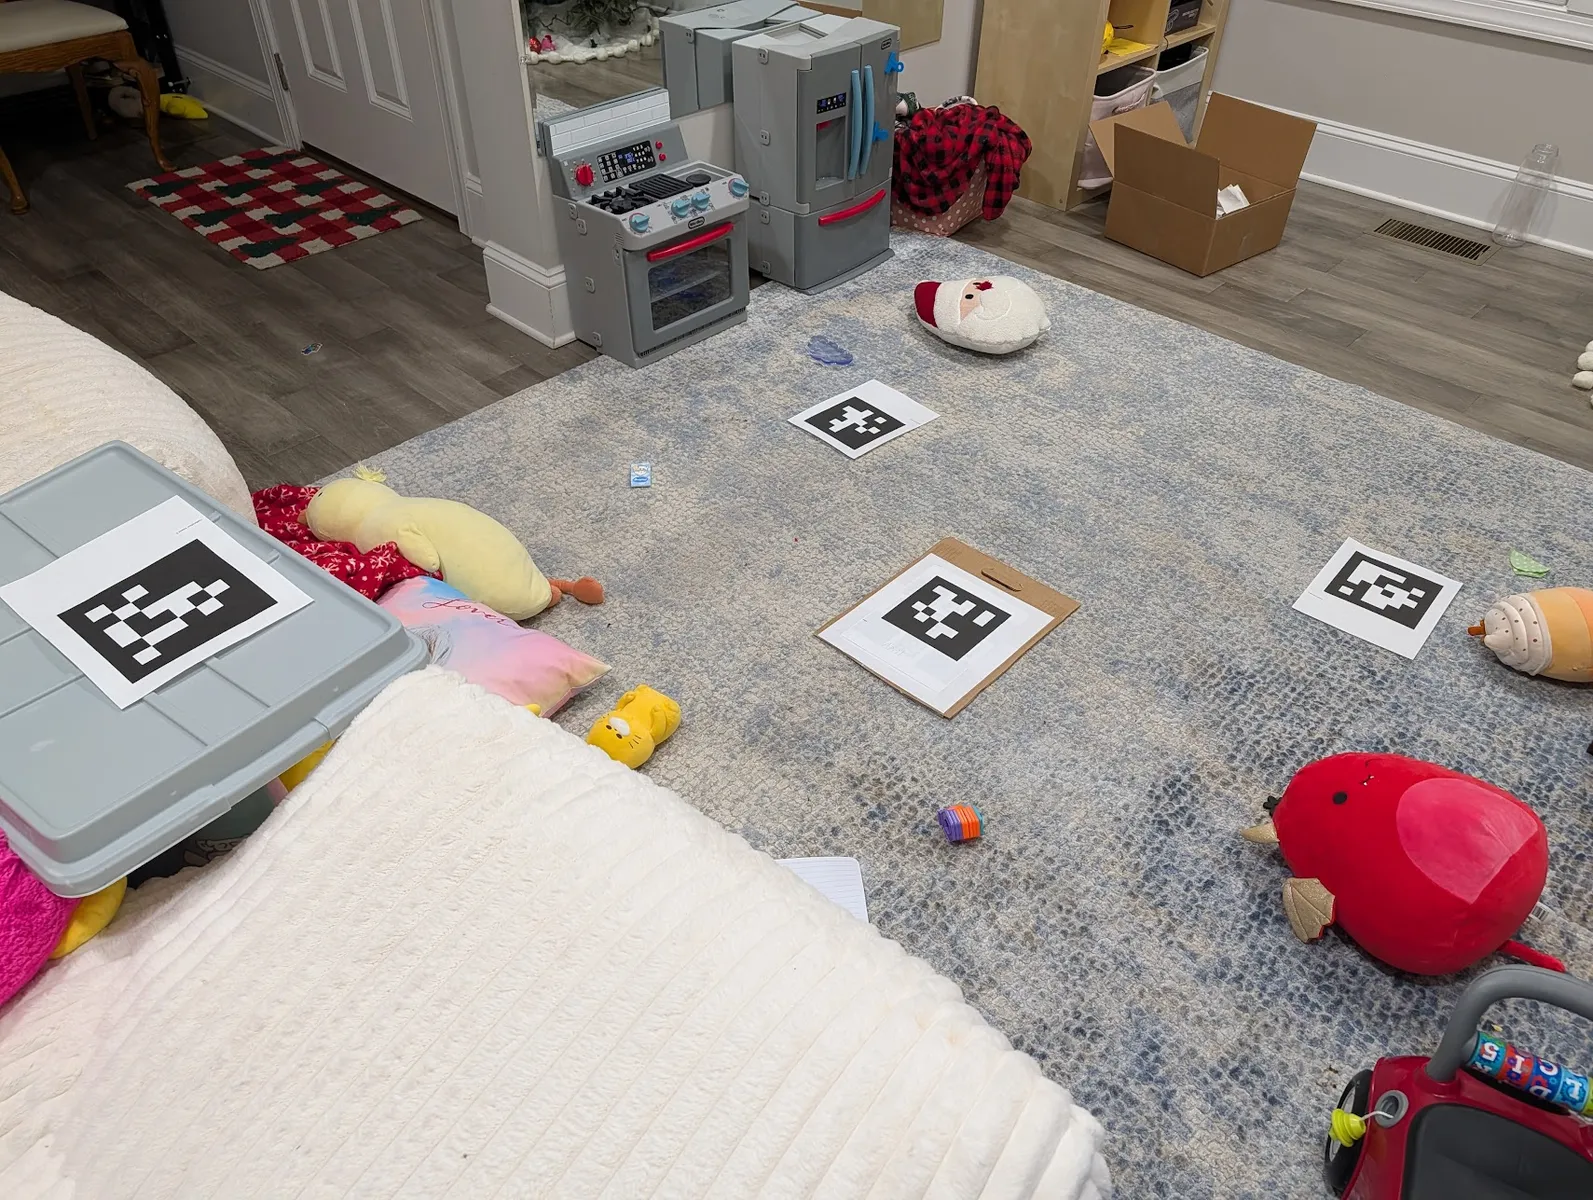
Prepare for calibration by placing the four large paper cards on the floor. The one labelled "origin" should be in the center, with the others around it anywhere. At least one should be on the floor. The small plastic cards are not part of calibration, they are for labelling drop points during normal operation.
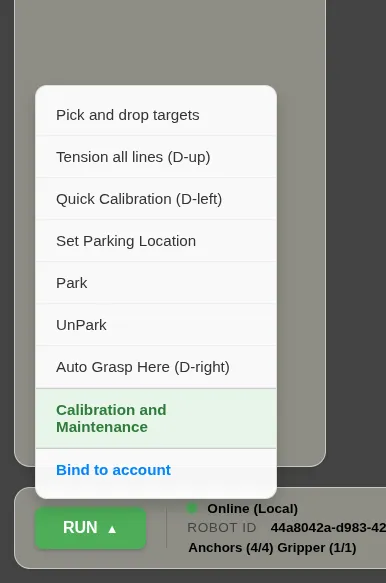
Select the Calibration and Maintenence submenu followed by Full Calibration
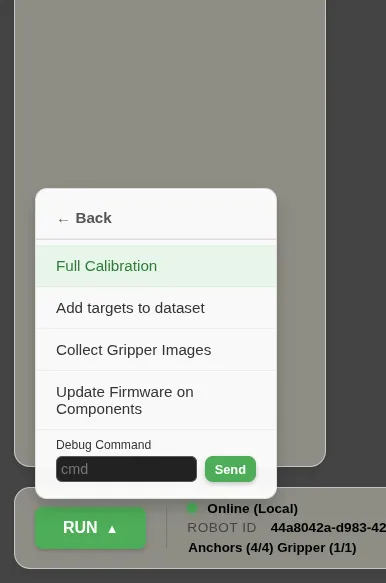
The robot should move to a position over the origin and make some other small motions. When this is finished, the shape of the room in the UI should update. If anything looks drastically wrong try repeating the calibration with better lighting, or with the helper cards in different places.
You should can judge the quality of the calibration by moving in straight lines. WASDQE keys move the robot along the cardinal directions of the origin card. With good calibration, the gantry should move in straight lines. Poor calibration usually causes it to move in an ascending arc, with some lines becoming slack in the process.
At any time, you can run the quick calibration (dpad-left) or key 2 which tightens all lines and resets the internal counter on the line length based on visual observation. Quick calibration only takes a few seconds. This can fix slightly slack lines, but cannot fix excessive errors in the position of anchors. In the pilot gripper, Quick calibration also attempts to reset the length of the winch line using the time between recent gantry swings. The gantry is almost always slightly swinging, but if it's not swinging at all, this part will not be updated.
Tip
Left D-pad on the gamepad or key 2 performs quick calibration. Doing this often is very beneficial.
If automatic calibration absolutely cannot determine the true position of the anchors in your room, you can edit them manually in configuration.json in the working directory where you ran stringman-headless. Units are in meters. The motion controller will not alter them unless you run full calibration again.
Controls
Keyboard
WASDto move laterally and QE to move vertically.ZXto rotate the wrist (arpeggio gripper) or winch motor (pilot gripper)Spaceto close the gripperL-Shiftto open the gripper1to tension all lines2perform quick calibration3execute an automated grasp at the current location
Gamepad
Any HID gamepad connected to your computer should be recognized by the control panel. Connect a gamepad and press any button to wake it, then press both left and right analog triggers at the same time. Gamepad control is highly reccommended over keyboard as it gives you analog speed control.
- Gamepad for Linux - Logitech F310
- Gamepad for Mac - Dualshock 4
Warning
Doesn't work in Linux/Firefox but does work in Linux/Chrome https://hardwaretester.com/gamepad is really helpful in debugging this
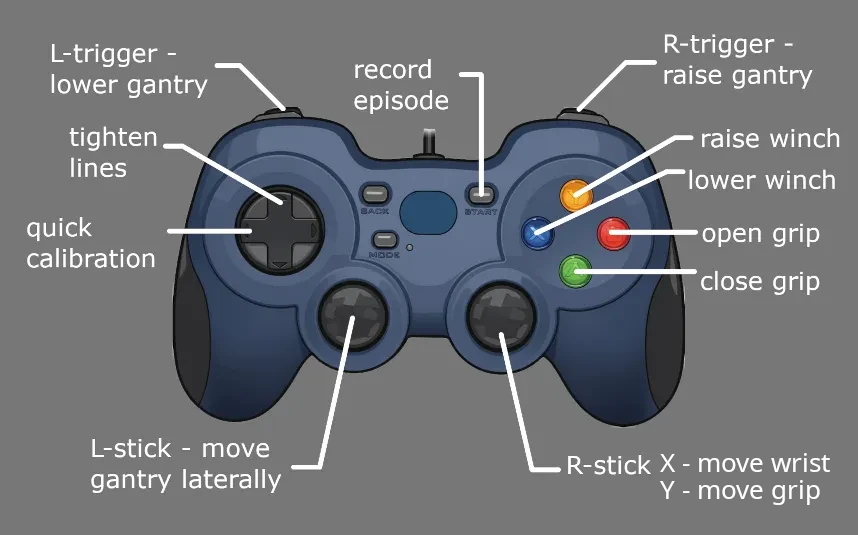
A/B control finger closing speed, but when the fingers touch something, it switches to change in desired pressure. The white bar under the gripper indicates the desired pressure and the green fill indicates actual pressure. While grasping somehting, hold B to lower desired pressure to zero, only then will the fingers open if you continue holding B.
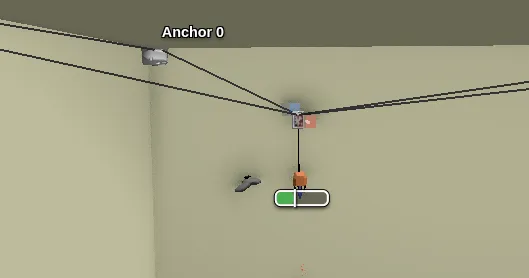
Perspective
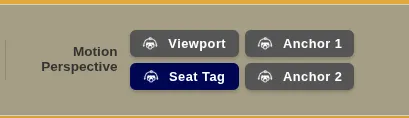
Whether in keyboard control or in gamepad control, you can select the viewpoint around which the robot orbits.
In any of these perspective but gripper, forward moves away from you without changing height, back moves towards you.
Left orbits you counterclockwise, right orbits you clockwise.
You can set the viewpoint to be any camera, the 3D viewport, or the seat tag, which is an Apriltag you can place anywhere in the room, such as near your seat.
In gripper persepctive, forward is always in the direction the gripper is facing, which is up in the gripper camera view.
Stop motion tasks
The STOP button can be pressed at any time to cause a soft stop. This means any task which is generating motion commands will be cancelled and all motors will be commanded to stop. After a soft stop the robot can continue to move again as soon as any task or control input is given.
Targets
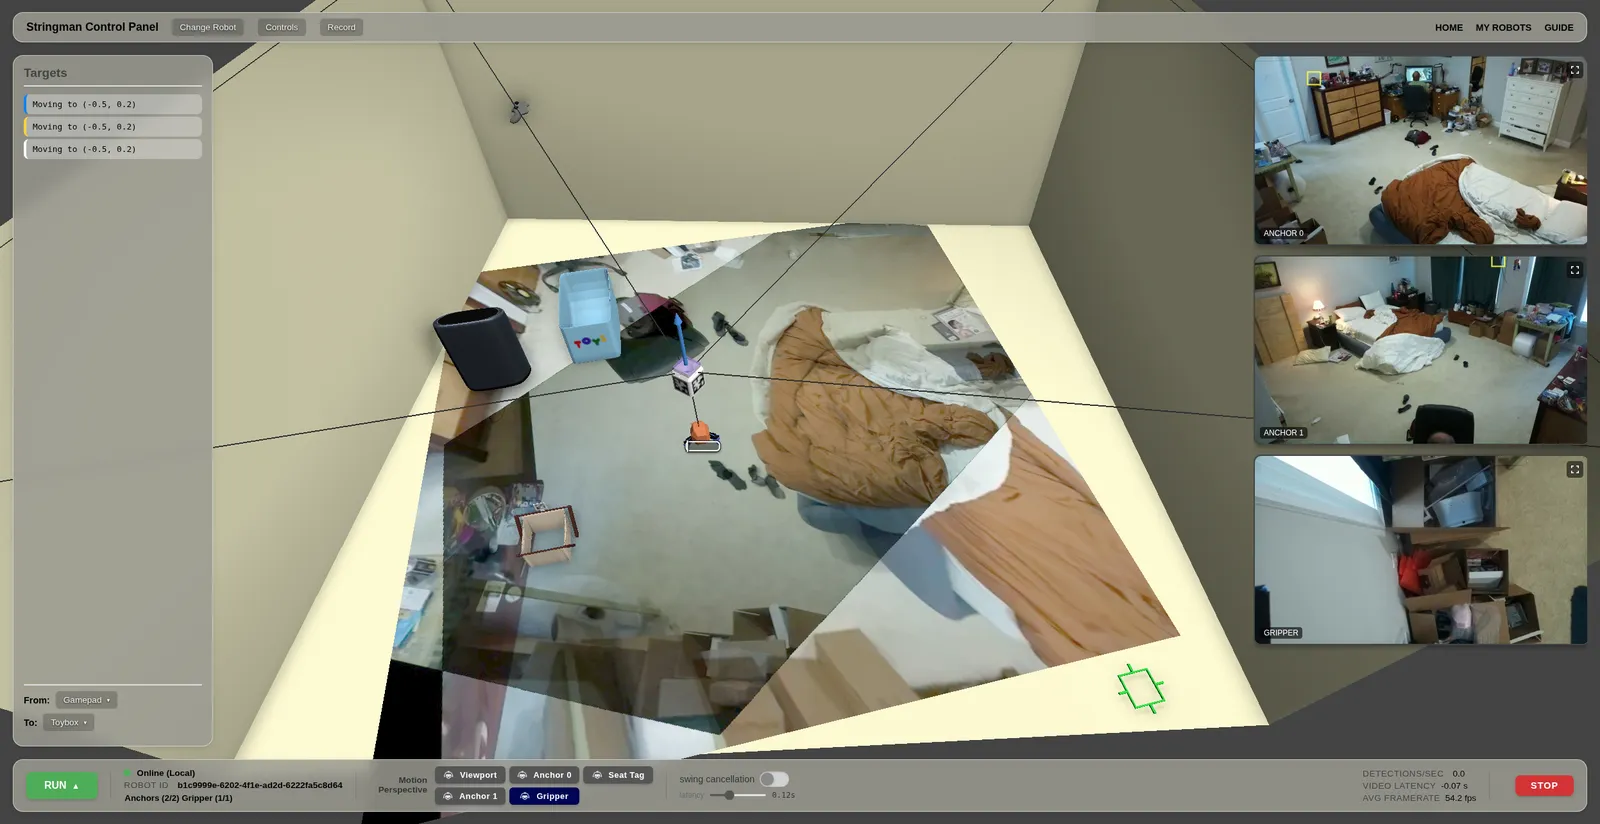
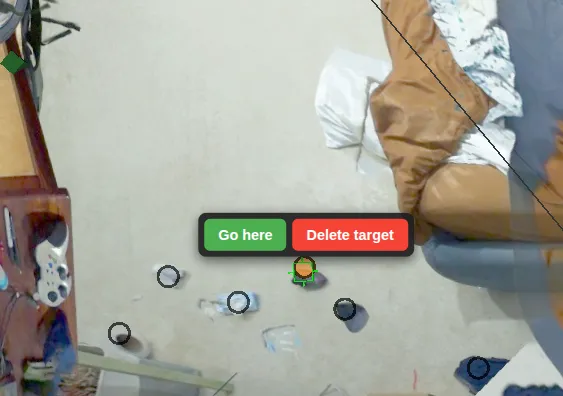
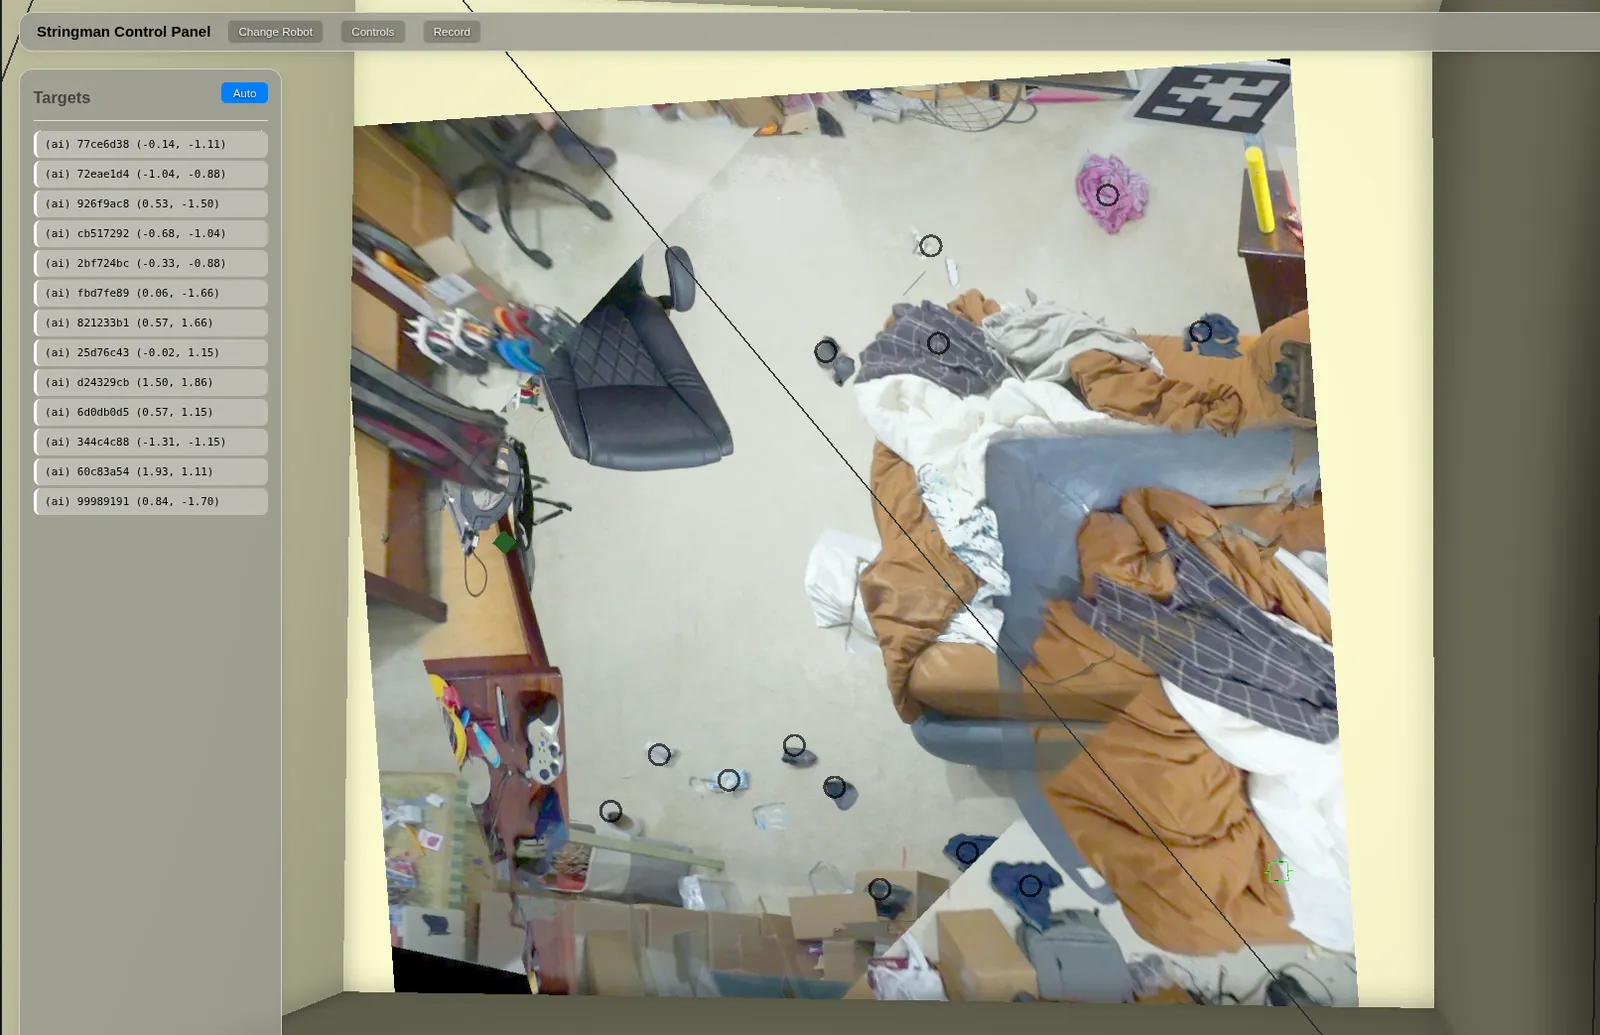
The Targets panel shows all targets that can be seen from the overhead cameras, whether identified automatically or added manually. You can select any target by clicking on it in the list or on it's square in any camera view where it appears to delete it.
You can add new targets by clicking twice anywhere in a camera feed or on the floor. (except the gripper camera for now)
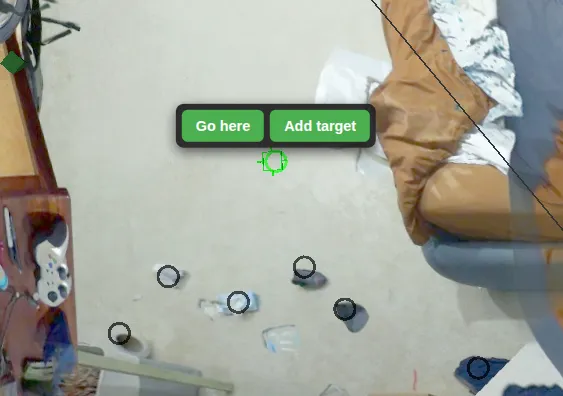
At the bottom of the targets panel the To and From fields allow you to configure the pick and place task. Pick and palce will continuously take items from the From location and drop them at the To location.
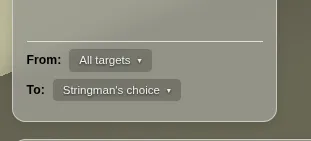
For example, if From is User targets and To is Trash, then pick and place will take all user-added targets, move to them, perform the configured type of auto grasp, then move over a point 25cm in front of the Trash apriltag, and drop the item.
Pressing "Auto" at the top of the targets panel loads a model which automatically identifies objects that may not belong on the floor and adds them as targets to the list. You can delete them just like manual targets.
Explanation of tags
Stringman comes with four small tags and four large tags.
The large tags are to mark the origin during calibration and to assist in determinging camera pose. They are only used during calibration and can be removed from the floor thereafter.
The small tags are used to tell the system where named locations are. The actual location being controlled is a point 25cm in front of the front face of the tag. The front face is the one with the name on it.
- Gamepad - Informs the system where you are when controlling the robot manually for the purpose of orbiting around you. See the Perspective section above.
- Trash - mark the location of a open trashcan
- Toys - mark the location of an open toybox
- Hamper - mark the location of an open laundry hamper
The tags can also be used for any other purpose you like. For example, place the hamper tag near a pile of walnuts, and gamepad tag near your cracking station. Set the appropriate tags as To and From and start pick and place to have the robot continuously bring you walnuts from the pile. The action continues until you press stop.
Robot components
The interface shows the position of each robot component and the lines that connect them. Each anchor can determine whether a line is tight and the this is indicated in the control panel by either drawing the line as straight or curved. if the line is not tight, it is not possible for us to know by how much, thus the amount of curve drawn has no bearing on what it may look like in reality.
The gripper at it's estimated position in the room. the position estimation is a combination of two factors * The visual factor (RED). This is where the display box appears to be based on recent visual observations of the april tags. * The hang factor (BLUE). This is where the gantry should be hanging based on how long the lines are right now.
Diagnostics
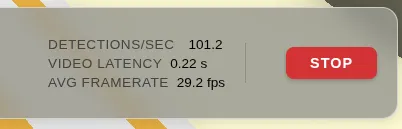
Visual detections of the gantry are rendered as white cubes. any time a new detection is made from any camera, a cube is added. These are the detections referred to by the "detections/sec" stat in the bar at the bottom.
If cameras are connected but no detections are made, the robot may just be too high to be in view of any camera, or too far down in the corner of the room. It may aslo just be too dark. The control panel will still try to make an estimate of it's position from last known line lengths, but if this estimate is wrong, you may just have manually move the gantry into a spot where the cameras can see it and then perform a quick calibration.
The distance detected by the laser rangefinder on the gripper is indicated with a red rectangle. You should expect to see this near the floor if calibration is accurate.
Cloud mode (neufangled.com telemetry relay)
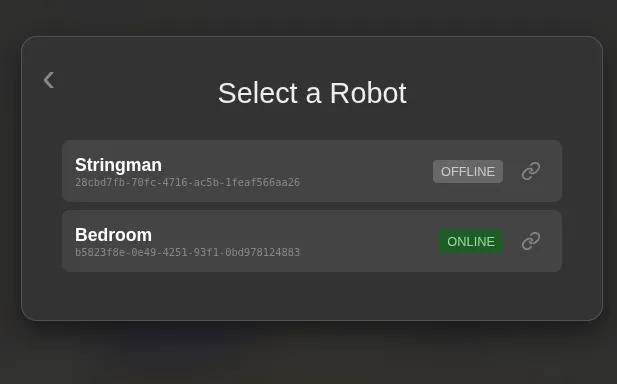
You can connect your stringman robot to your account at Neufangled.com in order to access it from anywhere as long as stringman-headless is running at home
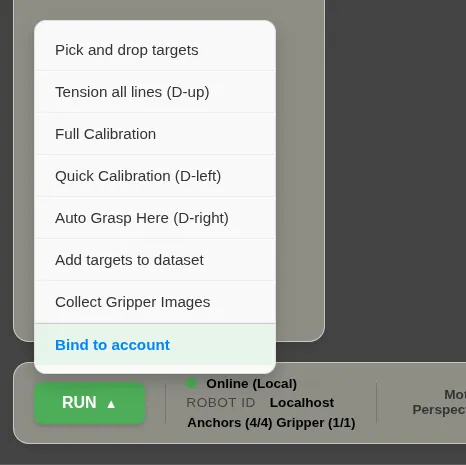
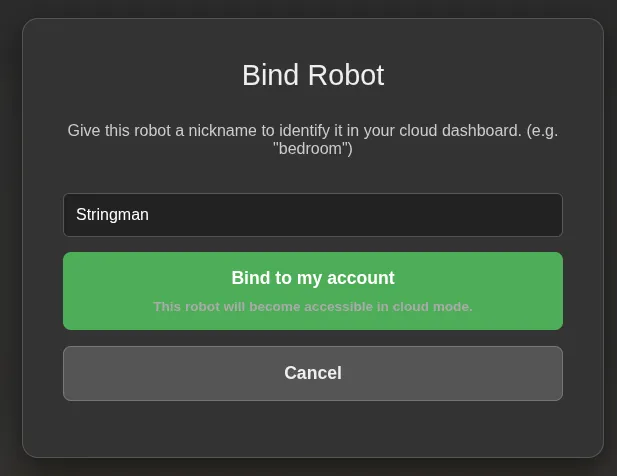
While connected in LAN mode, from the RUN menu, select Bind to Account. You will be asked to log in with Google or Github. Give the robot a nickname, and click bind.
AI Control
The designed behavior of stringman is to continuously pick and place targets in the room. This behavior is activated with Pick and drop targets from the main run menu.
Whenever the pick and place job needs to grasp something, it will use its built in model to grasp the most prominent object below the gripper. This can be triggered at any time by pressing 3 on the keyboard or d-pad right on the gamepad. If the grasp succeeds during pick and place, it will take the object to the drop point selected at the bottom of the target pane.
If "Stringman's choice" is selected, it attempts to find a location in the room automatically. The chosen location is indicated by the inverted green pyramid icon.
Large Lerobot models
The more advanced form of autonomous control available for Stringman is end-to-end control by a Lerobot-based model.
This is access by the Connect Lerobot button at the top of the interface. This panel is used to start a lerobot model eval script as a subprocess of stringman-headless by specifying a compatible huggingface repo id.
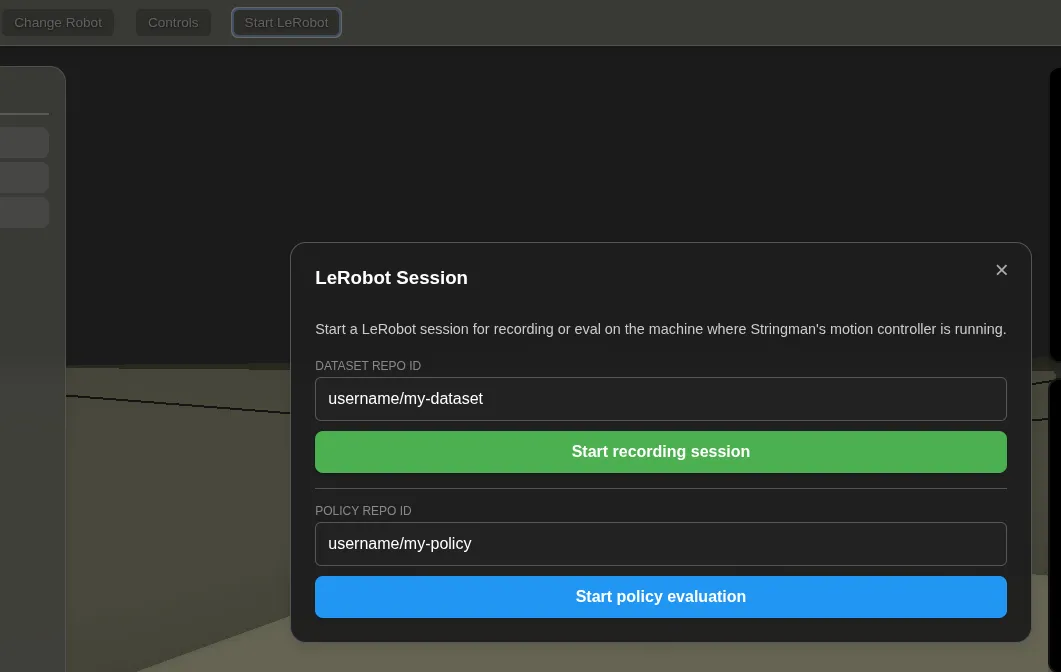
The lerobot script connects to the robot's local telemetry stream and consumes video and produces movements as long as an "episode" is active.
multitask-dit-8 is a model trained on the task of grasping household objects. The default behavior of pick and place is to try to start an episode in the connected lerobot session, assuming it is runnign a model which grasps objects. It's not yet wired up to automatically start the correct model since it's such an unfinished feature.
If stringman-headless is started with --lerobot_grasp the the pick and place task will always start an episode in any connected lerobot session when it needs to grasp something. It will use heuristics to determine when to end the episode.
Agentic control
An agent has two main options for controlling stringman.
Direct movement control
It can connect to the telemetry stream at ws://localhost:4245. Each message read is a serialized TelemetryBatchUpdate and each message sent should be a ControlBatchUpdate.
There are controls for direct gantry velocity or controls to set goal points in room space.
See src/nf_robot/protos/ from https://github.com/nhnifong/cranebot3-firmware for the interface definition and src/nf_robot/ml/stringman_lerobot.py for an example of how the lerobot script connects to telemetry.
Lerobot as intermediary
It can use a connected lerobot process evaluating a suitable model for handling low level movement and condition it with prompts. It would still connect to the telemetry stream, but would issue EpisodeControl messages containing prompts and would start and stop episodes from the connected model. Loading multitask-dit-8 for example would allow an agent to issue a prompt such as "Pick up the orange pen" with the gripper somewhere near the orange pen and track velocity and finger pressure in the telemetry to guage success much like the pick and place routine in observer.py